This post may contain affiliate links. This small commission costs you nothing and allows us to write more great power tool reviews for you.
Your Ultimate Step By Step Guide To Powerwashing A Deck (Without Destroying It In The Process)
Remember that day when you first had your new deck installed? It looked pretty sweet, and you wanted to invite the entire neighborhood around to show it off. But since then things have gone downhill, a lot.
The elements have taken their toll, the wood has aged, and if we are honest, it looks pretty disgusting. The prospect of trying to clean it fills you with dread, and it is one of those jobs that you keep putting off, but that can’t go on forever.
The good news is that you have stumbled across this site.
In this article, we are going to walk you through the process of how to pressure wash a deck properly. It’s not as difficult as it sounds, but has the potential to go horribly and expensively wrong if done incorrectly.
Regularly cleaning your deck comes under the heading of “prevention being better than cure”, or “little and often”. Yeah, it’s a pain, but both you and your bank balance will reap the rewards in the future.
Step One – Clear The Deck
We have all tried to go the easy route in the past.
Trying to botch a job, or take short cuts, but the reality is the result always looks awful, and you end up doing it all again, so save yourself the hassle and start by doing the job properly and clearing the deck of everything.
Once you have a clear deck, you will be able to see the full extent of the job and won’t have any hazards or obstacles in your path.
Step Two – Wear The Appropriate Protective Clothing
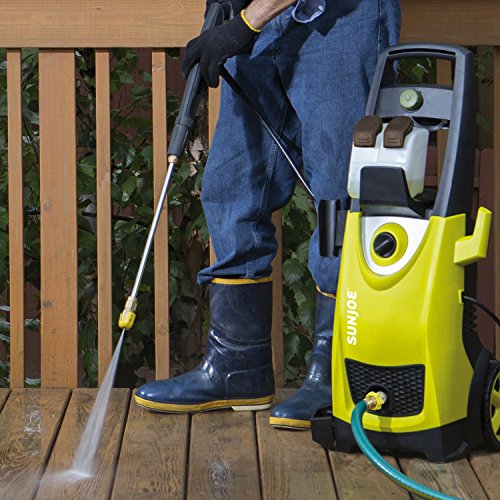 You might not want to look like Walter from Breaking Bad, but it is really important that you wear suitable protective clothing when you are learning how to power wash a deck.
The cleaning products and chemicals can contain some strong ingredients, so think about it logically.
If they can strip dirt and debris from wood, potentially what could they do to your skin?
There is nothing to be lost from protecting yourself and everything to be gained.
Step Three – Scrub The Deck
Sorry readers, but unless you have a willing and reliable teenager at your beck and call, this is where you have to get down and dirty.
Personally, I don’t have a preference for one specific brand of cleaning product. The only rule I have is to read the instructions properly, something I know many of us never actually bother to do.
But in this instance, it is advisable as not all cleaning products are the same. You don’t want to discover this after it destroys your deck because it was only supposed to be exposed to the wood for a short time.
Get hold of a good synthetic bristle brush, as this will get you into those nooks and crannies much easier and will also last for many years.
Step Four – Work Away From The Walls
In much the same way that you should paint yourself out of a room, one of the key lessons, when you are learning how to clean decking, is to work from the walls out.
Your last application of the cleaning materials or the water jet should be as you step off the deck at the end of the job. That way you are always pushing the dirt and cleaning fluid away from the newly cleaned areas. Makes sense right?
Step Five – The Pressure Washer
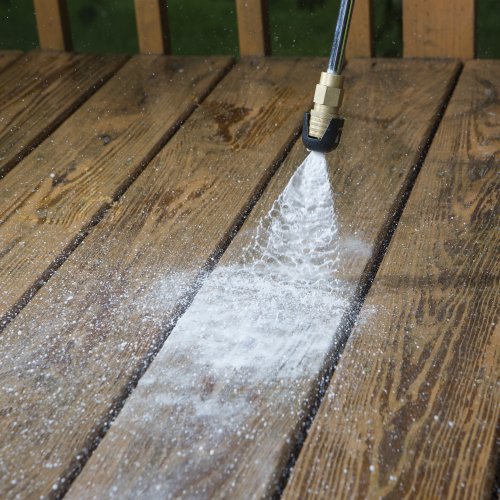 If you are anything like me, this is where the fun starts. I love messing about with my little cordless power washer, and this can make a tedious job a little more enjoyable.
The transformation when you start cleaning the deck can be quite uplifting, provided you don’t mess it up.
However, it is also fraught with danger, especially for those of us that enjoy a bit of power. However tough your wood might appear, a powerful power washer can destroy it in seconds. And that gets expensive pretty damn quick.
Always start on a low setting (about 600 psi) and work your way up regarding power. You can always go up, but once the damage is done, going down is not an option. Initially, test things out on a step or other small area.
If you discover the step has been stripped or damaged by the water, it is a little easier to replace than a full length of decking.
Check out our comparison of the best Generac pressure washers.
Be aware that regardless of method chosen, there is always a slight possibility that some of the wood fibers can rise. This can be resolved afterwards relatively easily, so don’t panic, should it happen to you.
- Sounds obvious but for goodness sake when you first squeeze the lever to use the pressure washer, make sure it is pointing into an empty space. This might sound obvious, but numerous broken windows tell a different story.
- Set your tip to be about 40 to 60 degrees. The tip is the angle at which the water is released, so to give you some idea 0 means there is no angle or deflection at all.
- Slowly lower the spray towards the deck until you are about 12” away from the deck surface.
- This next tip is difficult to master but is essential to follow. Try to keep your hand at the same level while applying the water. As people sweep from left to right, they regularly lower or raise their hands. This either applies too much pressure to the wood, causing damage, or not enough which means the deck is left with patches, either option is certainly not desirable.
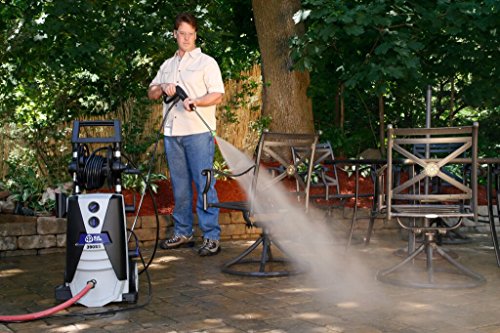
- Master the art of feathering- This is where you overlap the previous stroke. Rather than have a straight line where one stroke finishes and another starts, feathering prevents this, as well as helping you to dilute the cleaning materials further. This will take a little longer, but the results are well worth the extra effort.
- Corners can be a challenge as obviously there is nowhere for the water to go to. That is why wearing the proper protective material is essential, be prepared for spray to bounce up into your face. As a general rule of thumb, try to work with the grain of the wood, a long sweep into the corner and short sweep out is the best method.
Step Six – Patience
Wood can and will look very different from wet to dry. Give the deck at least 24 hours of drying time before inspecting it again closely.
Then you can see which parts if any you have missed or might require a little extra work. By taking your time, and following these simple steps, your deck will look as good as new, and you can take pride in a job well done.


